
How to Reduce PPF Film Waste with YINK Super Nesting—YINK FAQ Series — Episode 30
A 15-meter roll of PPF may go further than you expect. When preparing vehicle patterns, not all material waste comes from the cutting process. Sometimes the biggest opportunity is in the layout before cutting.
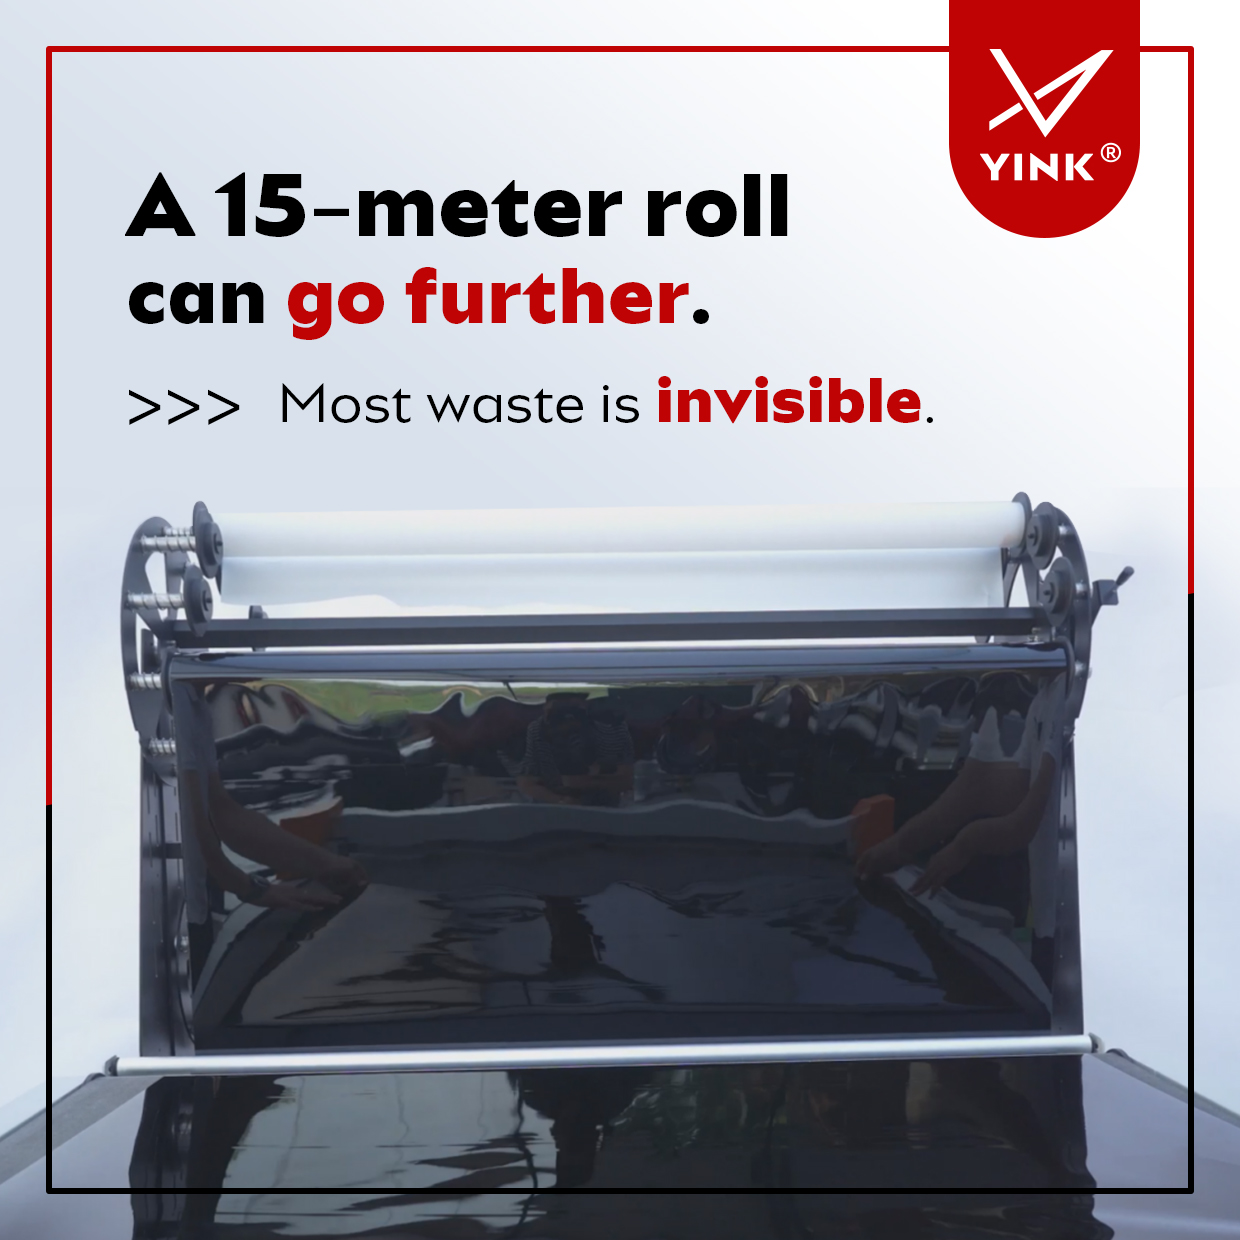
Unused edge areas, wide gaps between parts, and inefficient orientation can all increase the length of film needed. That is why checking the layout before you send a cutting job is a useful routine.
Why Does PPF Layout Affect Material Waste?
Even accurate PPF patterns can use too much material when they are arranged inefficiently. Three common problems are worth checking:
▌Unused edge areas
Usable sections along the sides of the film are left empty.
▌Large gaps between patterns
Extra spacing can increase the total length of material required.
▌Poor pattern orientation
The parts may face directions that leave unnecessary empty spaces.
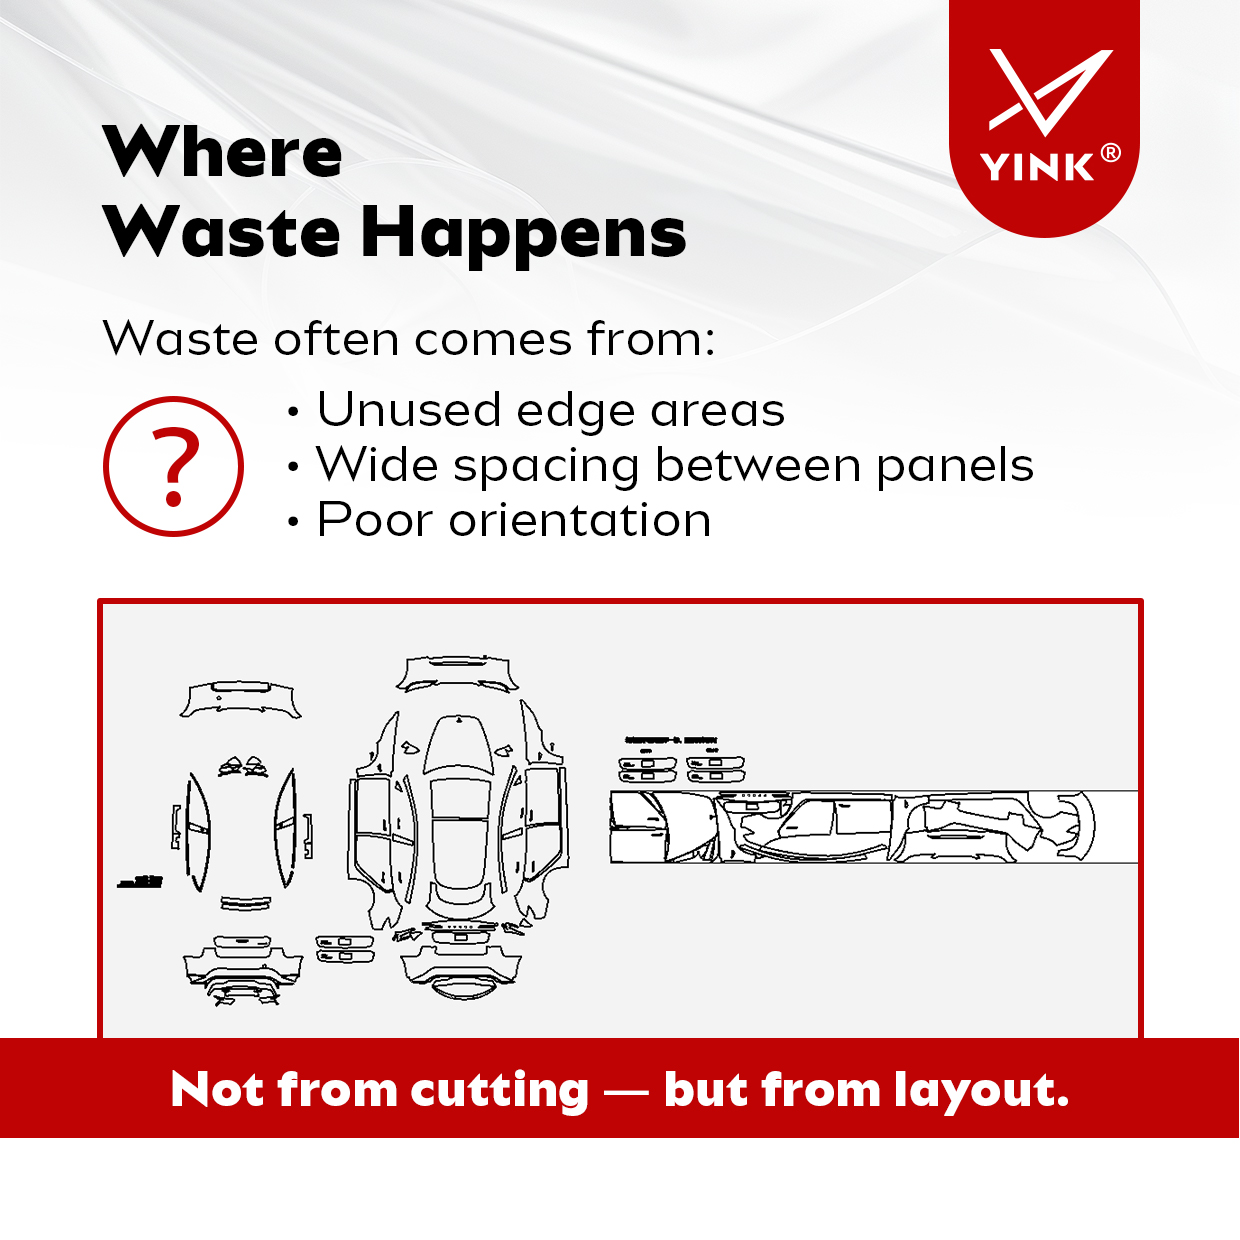
The solution is not always to change the cutting settings. Sometimes you simply need a better layout.
How to Optimize Your Layout with YINK Super Nesting
YINK includes Super Nesting, a layout optimization function that reorganizes patterns to make better use of the available film. Follow these steps before cutting.
01 Prepare Your Cutting Patterns
Open the project in YINK and confirm that the required vehicle patterns are ready in the Design Center. Check that no needed parts are missing.
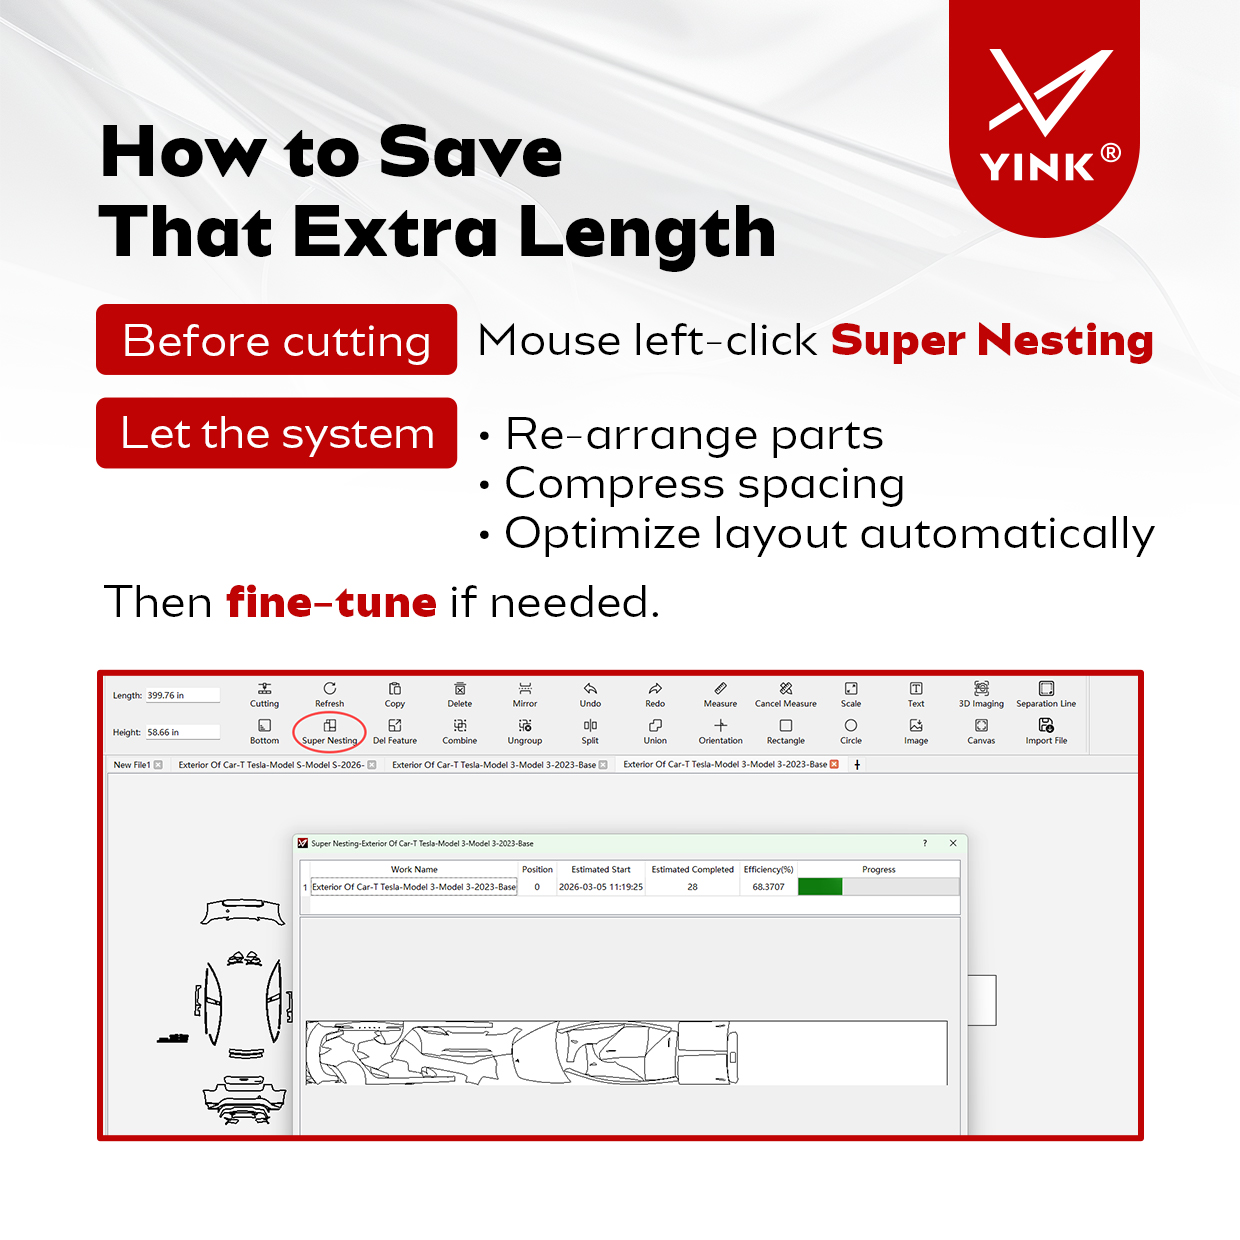
02 Click Super Nesting
Find Super Nesting in the software toolbar and left-click the command to start the optimization process. The tool rearranges parts with the goal of using available film space more efficiently.
03 Review the Optimized Layout
After the operation finishes, review the spacing between parts, unused areas along the film edges, the total layout length, and whether the arrangement is suitable for the material being cut.
▌Spacing between patterns
Check whether any gaps are larger than your job requires.
▌Unused film at the edges
Look for space that the arrangement could use more effectively.
▌Overall material length
Compare the required film length before and after running Super Nesting.
▌Cutting suitability
Make sure the arrangement respects the film and machine cutting requirements.
04 Make Manual Adjustments If Needed
Automatic optimization can improve the starting layout, but review the result and make small manual changes if the job calls for them. Keep appropriate clearance between patterns.
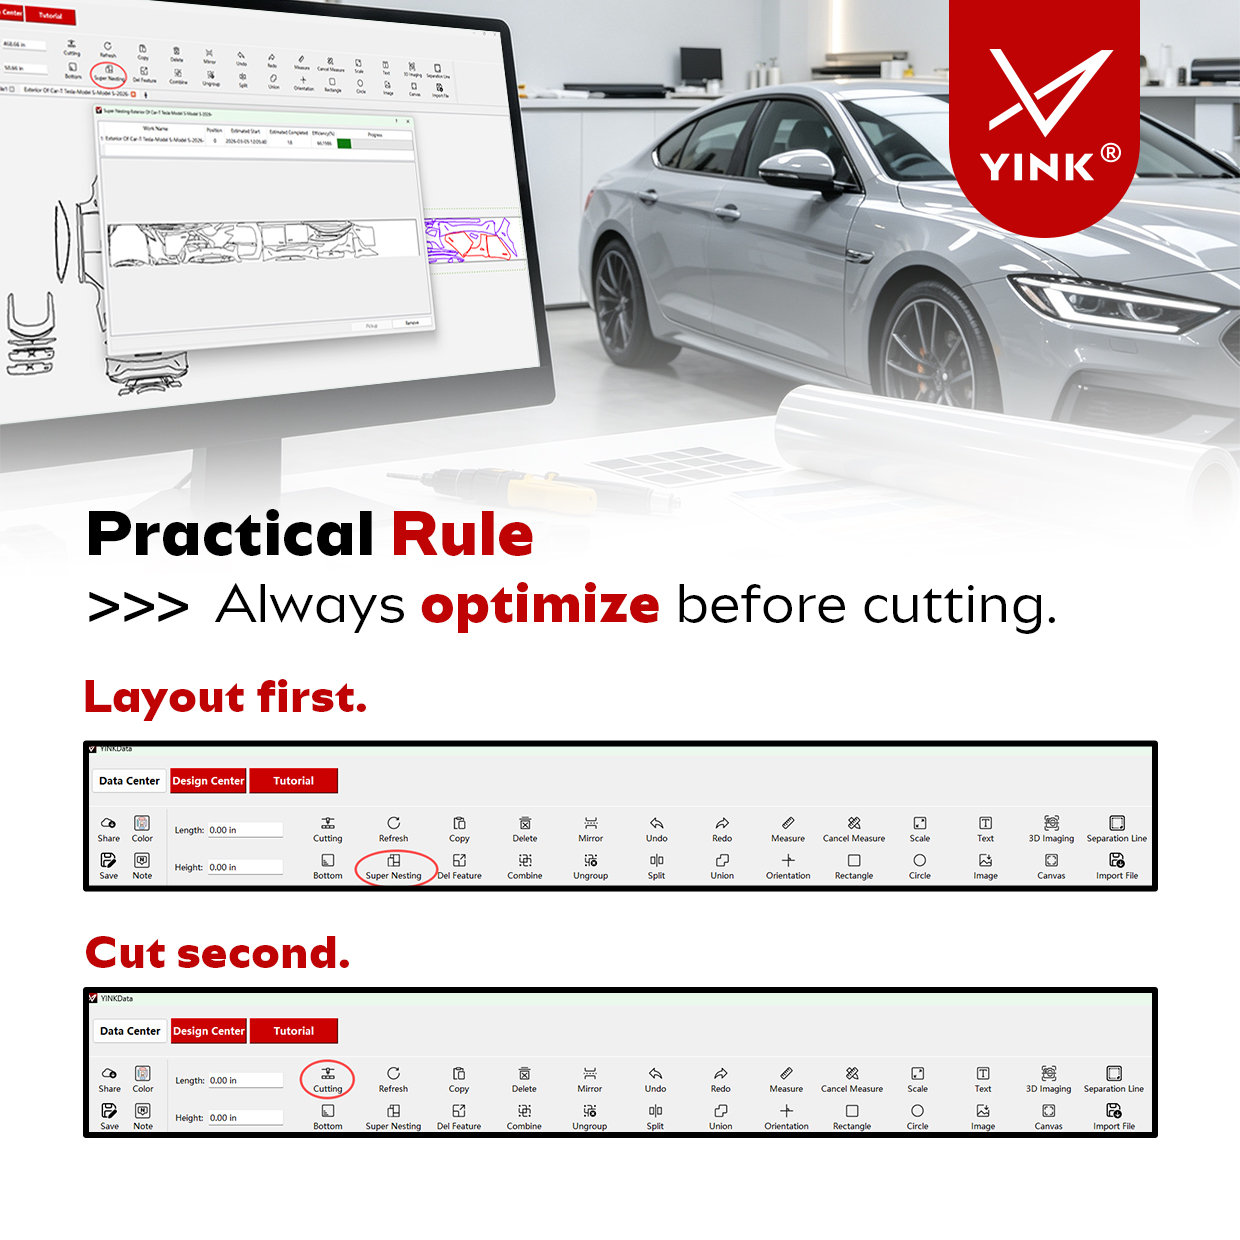
05 Optimize First, Then Cut
Once you have reviewed the arrangement, proceed with the cutting command. Remember the rule: optimize first, cut second.
How Much Film Can Better Nesting Save?
The actual difference depends on the original layout, the number and shape of the patterns, film width, and cutting requirements. Rather than promising a fixed amount, compare the material length shown before and after optimization for each job.
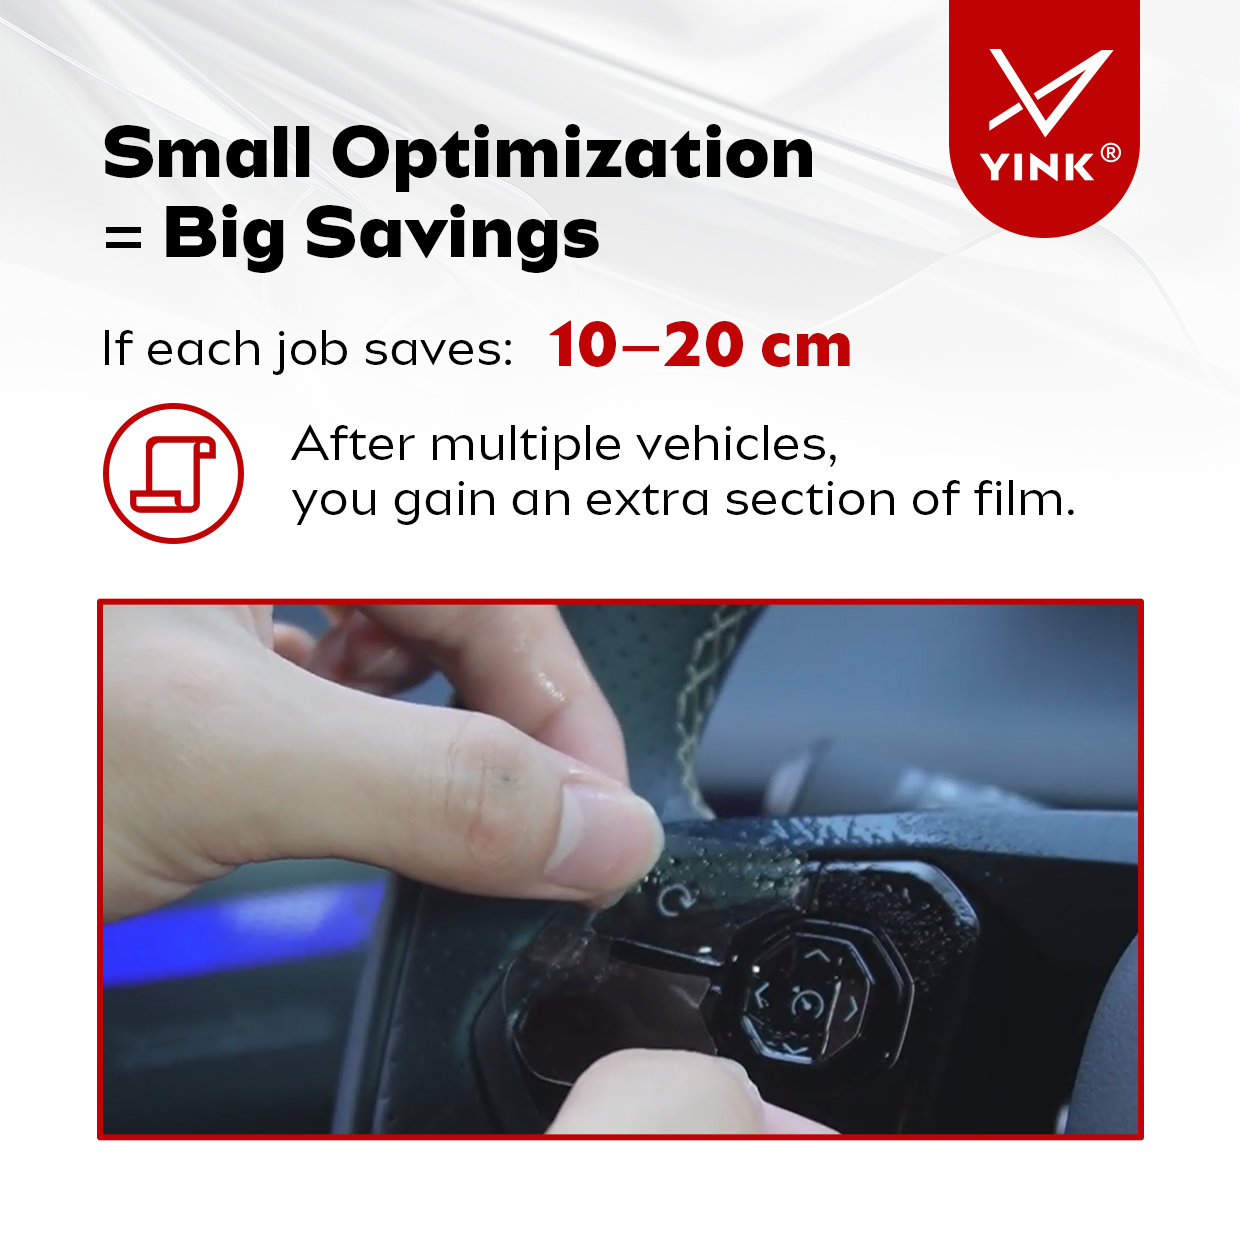
For illustration, if you save 10 to 20 cm of film on a particular job, repeating small improvements over multiple vehicles can leave a useful extra length on the roll. This is an example, not a measured result or guaranteed saving.
Make Layout Optimization Part of Your Daily Workflow
You do not necessarily need a different machine or different film to reduce avoidable waste. Before every cut, take a moment to review the pattern layout. Better nesting can help make more of the film you already have.

If you are new to the software, read the YINK software setup and cutting workflow guide. For more background on the feature, see the YINK FAQ on Super Nesting and material use.
Optimize first. Cut second. For help with your YINK cutting workflow, contact the YINK team.
Post time: Oct-26-2026


