
YINK FAQ Series — Episode 7
How to Use 3D Imaging & Vector Engine in YINK Software?
Q1: How does 3D Imaging work and how to create accurate patterns?
What is 3D Imaging?
3D Imaging in YINK software is a feature that allows you to convert real vehicle parts into precise cutting data by capturing their actual shape.
It’s especially useful for:
- New models without data
- Special parts or custom areas
- Complex curved surfaces
How to use 3D Imaging?
Step 1: Create a physical template
Use masking tape to copy the shape of the target area 1:1.
Then trim and refine the shape carefully.


Step 2: Prepare background for measurement
Place the template onto a mosaic background board
(each square = 100mm × 100mm)
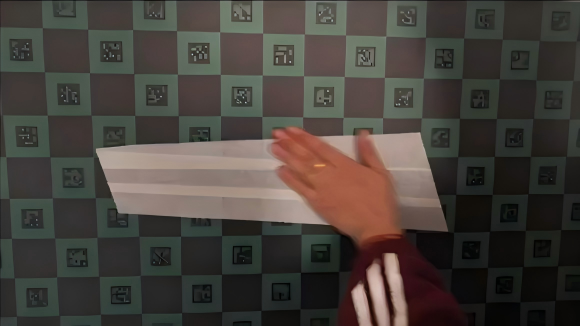
Step 3: Take a photo
Capture a straight, level photo of the template.
Step 4: Import into YINK software
- Save the image to your computer
- Open 3D Imaging in YINK
- Import the photo
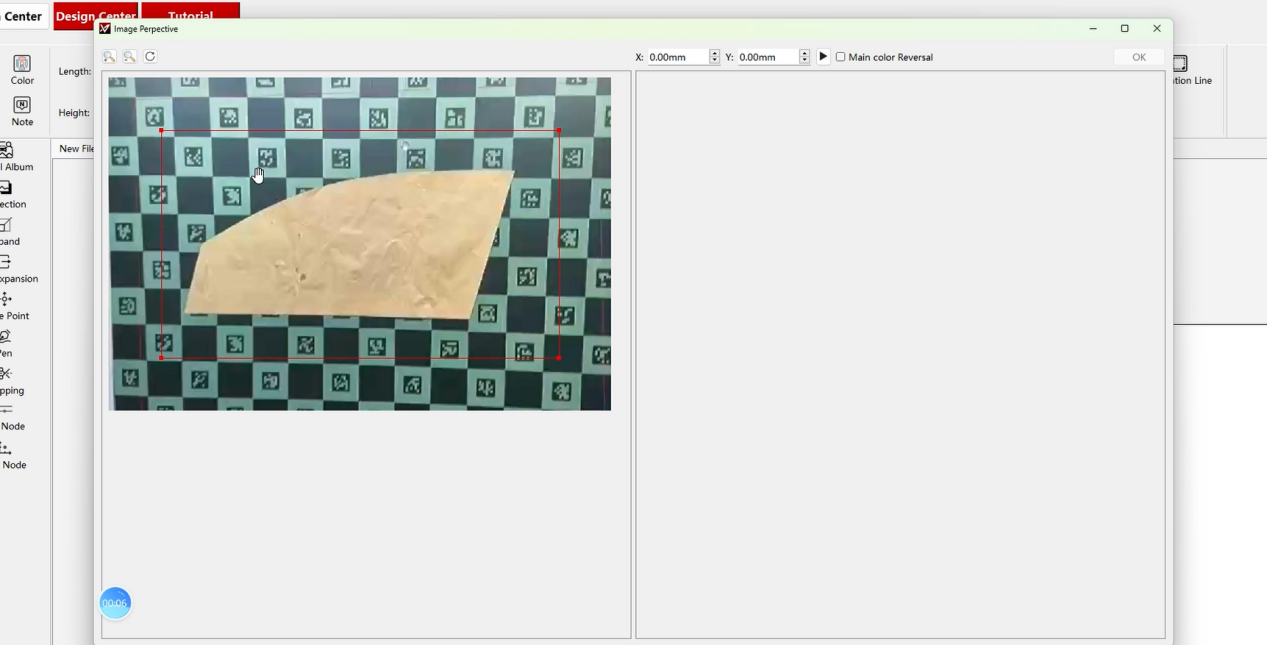
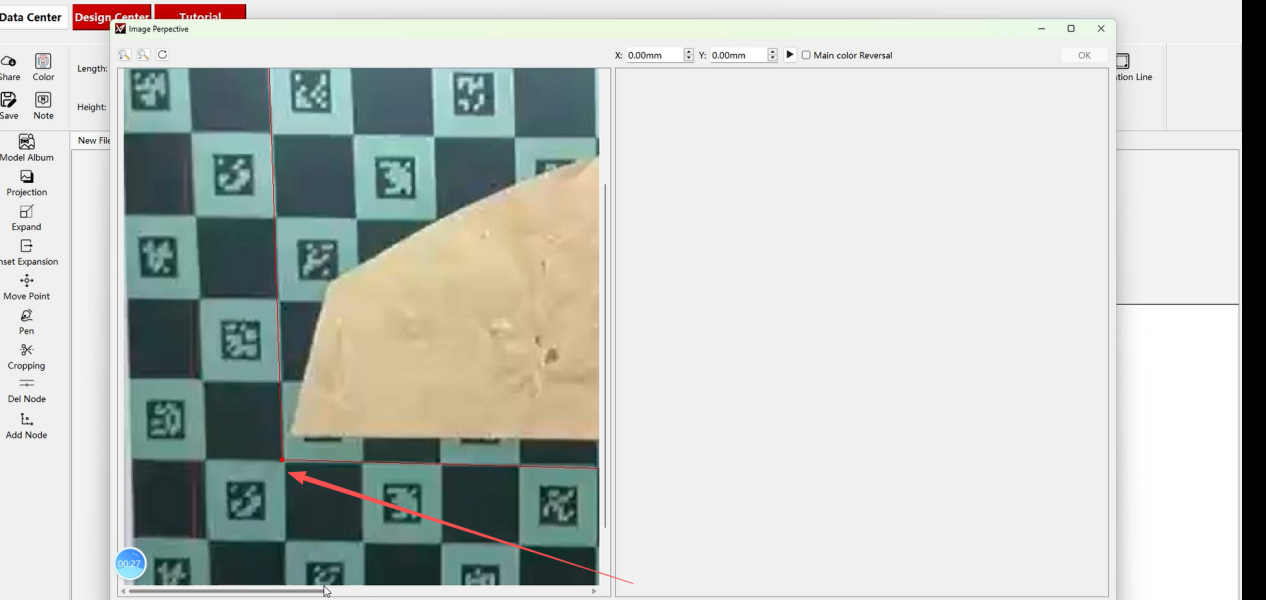
Step 5: Measure dimensions using grid
- Count grid squares:
- X-axis (horizontal)
- Y-axis (vertical)
- Example:
- 10 grids → X = 1000mm
- 5 grids → Y = 500mm
Step 6: Generate data
- Input X & Y values
- Click generate
- Background will be removed automatically
- Click OK to complete


Tips
- Ensure the photo is not tilted
- Always use full grid coverage for accuracy
- The more precise the template, the better the cutting result
Q2: How to convert images into cutting paths using Vector Engine?
What is Vector Engine?
Vector Engine converts bitmap images (like PNG) into vector cutting paths.
It’s ideal for:
- Logo cutting
- Custom graphics
- Branding elements on PPF
How to use Vector Engine?
Step 1: Prepare your image
Use a clear PNG or bitmap image.

Step 2: Open Vector Engine in YINK
Import the image file.
Step 3: Adjust settings
- Select Hyper Fine (highest precision)
- Turn OFF background removal
- Turn ON color inversion
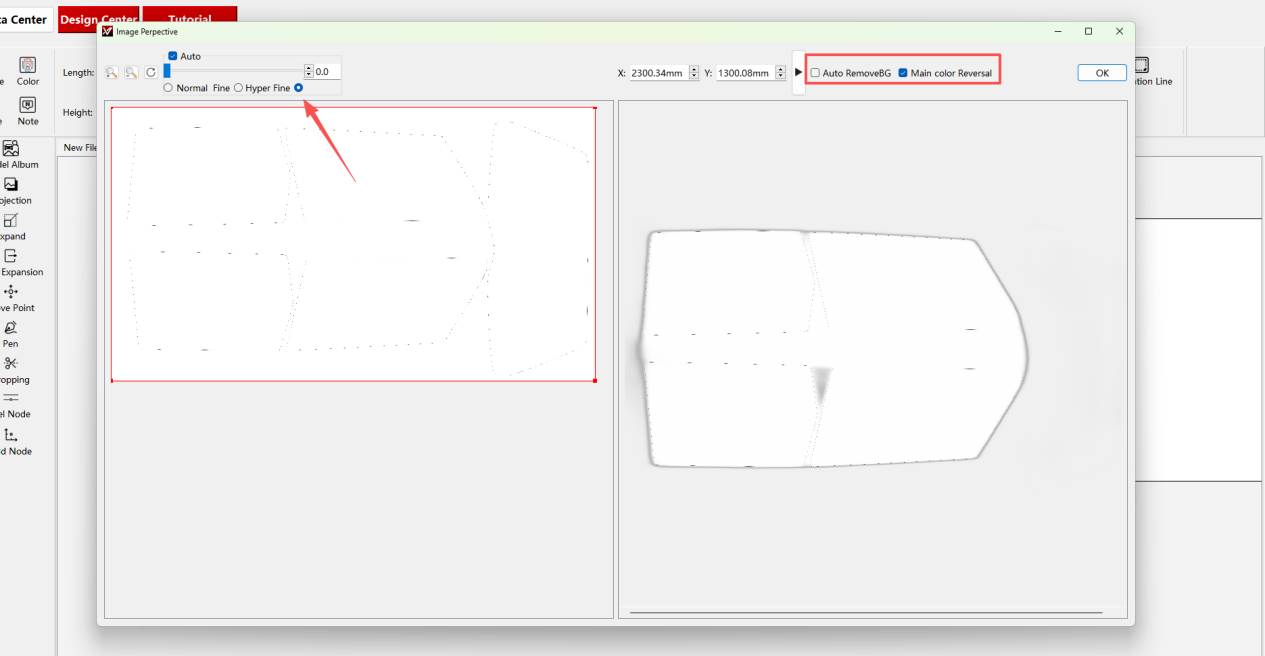
Step 4: Generate vector path
Click “Start” and wait for processing.

Step 5: Finalize
Click OK → vector data will appear and can be used for cutting.

Tips
- High-contrast images work best
- Avoid blurry or low-resolution files
- Use this feature for logos, decals, and custom branding
Conclusion
With both 3D Imaging and Vector Engine, YINK gives you the flexibility to:
- Create data when templates are unavailable
- Customize designs freely
- Expand your service beyond standard installations
These tools are especially valuable for shops looking to handle custom jobs and unique vehicles more efficiently.
Post time: Mar-26-2026


