
How to Test Cut PPF Before Cutting a Full Kit
When Should You Run a PPF Test Cut?
When you load a different film, run a test cut on the material you are about to use. Start with any settings your shop has already verified for that film and machine. If you switch to a different film line or thickness, check the result on that material before sending a full job to the plotter.
After replacing the blade or adjusting how far it extends, repeat the test. The pressure value on the screen may be the same as before, but the new blade or blade position can change how the film separates. A small square gives you a quick way to check the result before committing a larger piece.
When a familiar setup starts producing inconsistent cuts, use a test cut to reproduce the problem. If a technician reports a corner that keeps catching or a piece that pulls the liner up with it, record where it happened. A problem that repeats in the same place gives you a more specific starting point than a general report that the film was hard to peel.
How to Run a Test Cut on the YINK YK-905X Elite
The YK-905X Elite’s built-in Test Cut produces a 20 × 20 mm square. The square gives you four corners and four straight edges to check before you move on to a vehicle pattern.
- Load the film you plan to cut. Follow the machine’s loading instructions and leave room to run a sample away from the area reserved for the job. If you are testing with an offcut, use the same film as the production roll and make sure the piece can be loaded securely according to the machine instructions.
- Position the blade and open Speed/Pressure. The YK-905X Elite commissioning procedure starts with a test near the center of the material. Use the machine’s arrow keys to position the blade, then open Speed/Pressure to check the current settings.
- Press Test Cut. Let the machine finish the square. Keep the film flat for inspection so you can see where the cut line releases and where it catches.
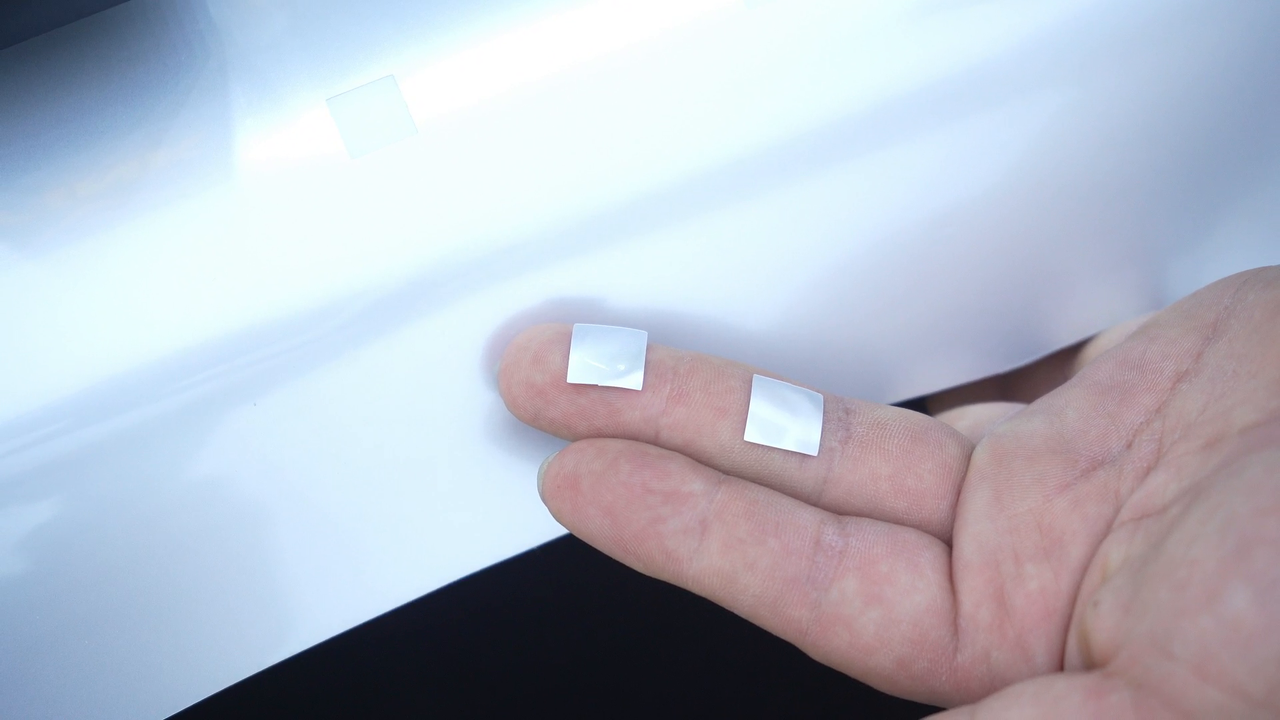
- Lift one corner and follow the cut line. Peel slowly enough to see whether the sample separates cleanly from the surrounding film. Once the square is lifted, inspect the release liner beneath it for a cut-through.
The controls in these steps apply to the YK-905X Elite. If your shop uses another YINK model, check the YINK plotter setup manuals for the controls and setup procedure for your machine.
How to Tell Whether the Test Cut Passed
Check All Four Corners
Start at one corner and watch the film beside it. The corner should lift without pulling the surrounding material up with it. Continue around the square and check the other three corners. A corner that stretches before it releases, or a thin connection you have to pull apart, is a reason to look more closely before starting the full job.
If only one corner catches, note which corner it is and repeat the test with the same settings. That second sample helps you tell whether the symptom repeats at the same point. Keep the first sample nearby so you can compare the two.
Check the Straight Edges
Watch the cut line as you lift the square. Each side should separate continuously. If one section releases easily and the next needs extra pulling, mark where the change occurs. Check whether it happens along one edge or across several sides of the square.
The way the square releases is more useful than how the cut line looks from above. A line can appear complete while part of the film is still joined underneath. Keep the sample flat and peel steadily so you can see the section that catches. The YINK FAQ on how to remove film after cutting covers handling film on an intact liner in more detail.
Check the Release Liner
Look at the liner under the square, especially where you first lifted the corner. If a piece of backing lifts with the film or the outline has cut through the liner, the sample has failed the check for this workflow. The YK-905X Elite manual describes the target as film that peels easily while the backing layer stays intact.
What to Adjust When the Test Cut Fails
Start with the symptom you can reproduce. Change one setting at a time, run the same test shape on the same film, and compare how the two samples peel. Keeping the film and shape consistent makes it easier to see what the adjustment changed.
| What you see | What to check first | What to look for on the next test |
|---|---|---|
| A corner remains attached or pulls up the surrounding film. | Repeat the square at the same settings to see whether the issue repeats. Then check the blade tip extension and cutting pressure against the setup procedure for your machine. | All four corners lift cleanly, and the cut releases along each edge. |
| The square peels, but the blade cuts through the release liner. | Check whether the blade tip extends too far. The YK-905X Elite manual directs operators to shorten the blade tip extension when the cut goes too deep, then test again. | The film still peels easily and the liner stays in one piece. |
| The center sample passes, but a sample near one side catches. | Compare test cuts at the center and both sides of the film, as described in the YK-905X Elite commissioning procedure. Check the results across the material before adjusting further. | The test samples release consistently at the positions you checked. |
Blade tip extension is how far the tip protrudes from the holder. Cutting pressure is the force the machine applies during the cut. If the liner is cut through, follow the model’s setup procedure and check blade tip extension first. If the film still catches after a change, record the adjustment and check the next sample before changing anything else.
A center square and a side square can also give you different results at the same settings. If you notice that difference, keep the samples labeled by position. You can then show a coworker exactly where the cut passed and where it caught. That is also useful information to send to technical support if the issue persists.
What to Check Before Cutting the Full Kit
A passing square gives you a baseline for the film and settings you just tested. Before sending the full kit, make a final check against the job you are about to run.
- Confirm the production film matches the test film. If you ran the test on an offcut, verify that it came from the same film product you are about to load. If you change the material after testing, check the result on the new film.
- Check a representative piece if the kit has tight details. A square tests straight lines and right angles. If the job includes a narrow strip, a tight curve, or a sharp point, consider cutting one small representative piece first. Lift the film at that detail and check how it releases.
- Record the settings that passed. A short note can include the machine model, film product, cutting pressure, cutting speed, where you tested, and what you observed. For example, YK-905X Elite | film product and roll ID | pressure and speed as displayed | center and both sides checked | square lifted cleanly, liner intact. Record the actual values used on your machine.
This record gives the next technician a starting point. If they change the blade or load a different film, they can see which setup passed previously and run a fresh sample for the job in front of them.
Frequently Asked Questions
Do I need to test cut PPF after changing the blade?
Yes. After a blade change, run a fresh sample and check both how the film peels and whether the liner stays intact. Repeat the check after changing the blade tip extension.
Why does the surrounding film lift with the test square?
Part of the cut may still be attached. Peel slowly to locate the connection, then repeat the square and see whether it catches in the same place. If it does, check the blade tip extension and cutting pressure using the procedure for your machine.
Can I use the same cutting pressure for different PPF films?
A setting that worked on one film can serve as a starting point when appropriate. Run a sample on the next film and check how it releases before using that setting for a full kit. The YK-905X Elite manual notes that cutting pressure requirements vary with material thickness.
Why does PPF cut cleanly in the center but poorly at the edges?
Run the same square near the center and at both sides, then compare where the film catches or the liner is cut through. That gives you a specific result to check against your machine’s setup procedure. If the difference persists, keep photos of each test position and the settings you used.
Post time: Nov-11-2026


